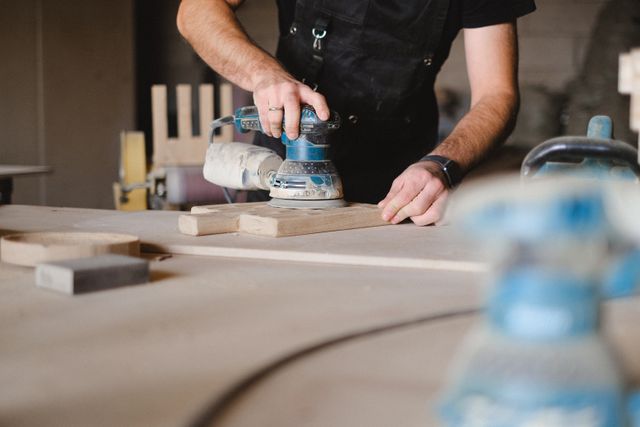
Back in June 2026, the Australian Bureau of Statistics spelt out some big numbers for approved renovation work in the country. Totalled up, the councils across Australia agreed to a massive $1.32 billion worth of residential renos and additions, a seasonally adjusted figure, remember, and one which was 4.0 per cent down on May but still a decent size. Whether it’s money that’s actually been spent is another matter. When you’re in the middle of a major renovation, it’s easy to get swamped by all the different plans and deadlines. But with Singleton floor sanding on the agenda, where does it fit into your overall schedule?
Why Does Floor Sanding Get Put Off Till Last?
You’d think timber floors would be right at the top of your priority list when it comes to renovation work. But in reality, they’re one of the last things to be finished off. And there’s a good reason for that. The truth is that other trades, plasterers, painters, tilers, can all cause damage to the flooring in one way or another. A dropped bucket here, a spill of paint there, a tiler moving heavy boxes across the boards and before you know it, your beautiful new finish is ruined. Sanding a floor too early in the process just invites trouble, it may get scratched or stained or just plain damaged before the renovation is even finished. That’s why, in most cases, it makes more sense to leave the floor sanding until the other major jobs are out of the way. You don’t want to be putting off the inevitable, but at least you’ll be able to get the job done with a bit less stress and anxiety.
Working Out the Right Order for Your Renovation
Sand, as we all know, can be a nuisance, and when you’re dealing with freshly painted surfaces, it’s the last thing you need. On top of that, paint needs clean, dry conditions to dry properly, so it’s best to get that sorted out before you start sanding.
Here’s one way to do it:
- First off, sort out the structural work and the plastering.
- Next up is installing skirtings, architraves and door frames.
- Do the floor sanding, and then have a thorough clean of all surfaces.
- Then it’s time for the floor coating, and this needs to happen in a clean room, preferably.
- Leave any final paint touch-ups until the floor is hard enough to take it.
Don’t forget to seal those gaps along the skirting boards, that’s a dust-collecting hotspot, and it’s also a good idea to move any heavy furniture to a different room while the renovation is on.
Choosing the Right Finish for Your Household
The finish you choose will have a big impact on how your room looks and how much maintenance it needs. If you’re looking for a finish that dries quickly and doesn’t have too many fumes, then a water-based polyurethane might be the way to go. This one’s good if you need to have the room available while the work is underway. If you want a warmer, more golden look, then an oil-modified polyurethane might be what you’re after. However, it will take longer to dry. Alternatively, you could go for a hardwax oil, which gives a more natural look and is easier to sort out if there’s a small problem. However, it does require a bit more maintenance.
If you’ve got kids or pets, then that might also play a role in your decision. A slightly dull finish is going to hide scratches a lot better than a high gloss finish, which will show off every little mark. And don’t even get me started on drying times, each and every coating is going to have its own time scale for drying, recoating and full cure. The technical data sheet will tell you what you need to know. So, don’t rush in and put down any rugs or heavy furniture just yet, wait until the full cure period has passed first.
Living at Home During the Work Period
The re-sanding process may render some rooms unusable for several days. You can use your bedroom as an alternate base until the rooms are restored. Close all the doors as much as you can. Tape and cover doors that must be open with towels in order to restrict dust movement. Your pets may be more relaxed if they spend some time with a friend or family member during this period. Odours should also be considered. If some people cannot bear it, then they will have to leave the house during the renovation period. However, if you ask your contractor about the substance he uses for the job, you will have enough time to arrange everything in advance.

Protection of the Floor for the First Month
Some things can be done in order to protect the floor from scratches after the work is done. Put felt pads under your furniture and door mats at your entrance. Also, use only special cleaners for finished timber. You shouldn’t use steam mopping and strong chemicals, because they can ruin the finish. Every year check your floor. The dull spots on the walkways most likely show signs of wear of the protective layer. The correct application of a new one may bring it back to its former beauty for many years.